How to Choose the Best Night Vision Lenses?
Choosing the right Night Vision Lenses starts with knowing what you mean by “night vision.” Some people mean glasses for driving after dark. Others mean lenses built into infrared viewing equipment. These are different products, and one cannot replace the other. A clear, accurate prescription may help correct blur, while a device lens must match its sensor and intended use. The details matter.
For night-driving glasses, look beyond bold claims on packaging. Check optical clarity, fit, prescription compatibility, and whether reflections from screens or headlights bother you. Yellow or amber tints may change how light appears, but they do not reliably create more light or guarantee safer vision at night. Dark tints can reduce the light reaching your eyes, which may be a poor trade in dim conditions. Small details count.
For infrared equipment, compare the lens with the device’s stated wavelength range, focus distance, field of view, and image quality. A wider view can feel useful, yet may show less detail at a distance. Coatings and materials also affect durability and clarity, though specifications alone cannot tell you how a lens performs in your setting. Ask a qualified eye-care professional about persistent glare, night-driving discomfort, or changing vision. For equipment, consult the manufacturer’s specifications and a knowledgeable seller. There is no single best choice for everyone. That can be frustrating. It is still worth slowing down, checking the claims, and matching the lens to the task rather than expecting a label to do the thinking.
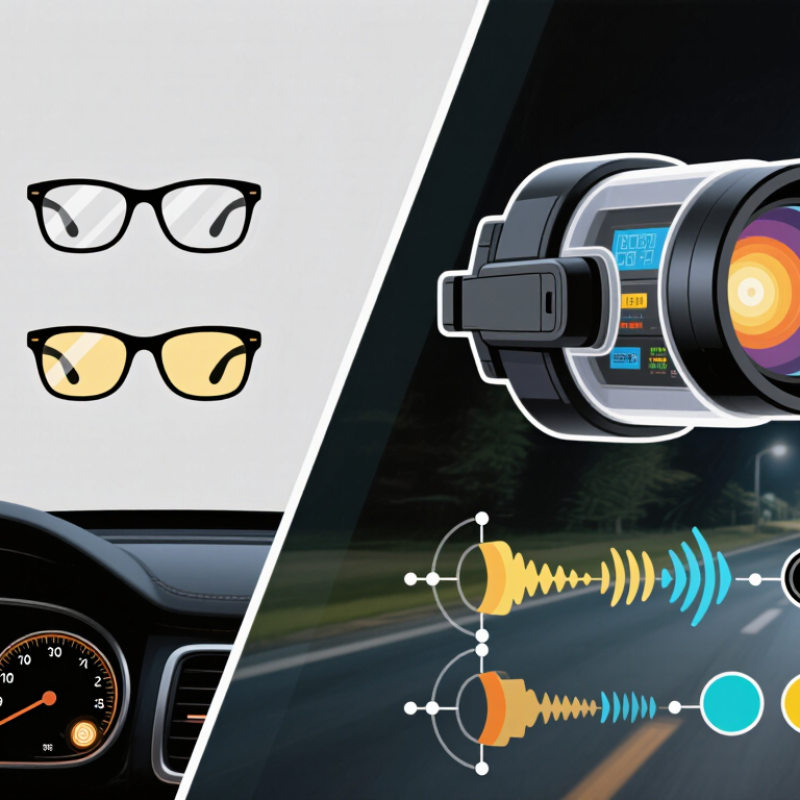
Define the Night-Vision System: Image Intensifiers vs. 8–14 µm Thermal Imaging
Image intensifiers and thermal imagers form night scenes in different ways. An intensifier amplifies available visible and near-infrared light, producing a brighter view through a sensor and display. Moonlight, starlight, and nearby lighting can reveal familiar edges, branches, and surface details. Very dark conditions may require an infrared illuminator. That still depends on reflected light. Lens aperture and focal length affect brightness, field of view, and how much detail appears at a distance. A narrow view can help identify distant shapes, but it makes scanning less comfortable.
An 8–14 µm thermal system detects heat emitted by people, animals, and objects, rather than reflected visible light. It can show a warm figure against a cooler field in near-total darkness, but it will not reproduce ordinary colors or textures. Glass often blocks much of this long-wave infrared, so a scene viewed through a window may look unexpectedly blank. Weather, warm backgrounds, and small temperature differences can also weaken contrast. It is tempting to call both systems “night vision,” but that label hides a real trade-off. Choose based on the detail you need to see: recognizable surfaces, or differences in temperature. Neither image tells the whole story.
Compare Apertures: An f/1.0 Lens Gathers About 2× the Light of f/1.4
How to Choose the Best Night Vision Lenses?
For night scenes, aperture can matter as much as focal length. An f/1.0 lens has an entrance pupil diameter equal to its focal length; an f/1.4 lens has a smaller opening. Because light varies with the square of the f-number, f/1.0 gathers about 1.96 times as much light per unit time under ideal conditions. That is one stop. In practice, the brighter lens may reveal more shadow detail or allow a faster shutter, reducing blur from a moving subject. Yet f-number describes geometry, not all light reaching the sensor.
Real lenses lose light through glass and coatings, so compare transmission figures or T-stops when available. The ISO 12232:2019 standard describes methods for determining digital camera exposure index, while EMVA 1288 Release 4.0 sets out standardized camera sensitivity and noise measurements. These are useful context: more incoming photons can improve the signal, but sensor noise and processing still shape the final image. Check performance in a dim room or at dusk, using the same camera settings and framing. Look closely at fine detail near the image edges. A fast lens can also have shallower focus, and wide-open images may appear softer. Small trade-off. The nominal twofold advantage is a strong starting point, not a guarantee of twice the usable detail.
How to Choose the Best Night Vision Lenses? — Compare Apertures: An f/1.0 Lens Gathers About 2× the Light of f/1.4 | Aperture | Relative Light vs. f/1.4 | Light vs. f/1.0 | Exposure-Time Equivalent* | Entrance Pupil at 50 mm Focal Length | Practical Consideration |
| f/1.0 | 1.96× (about 2×) | 1.00× | About 1/60 s | 50.0 mm | Strong light-gathering capability; the lens may be larger and more demanding to design. |
| f/1.2 | 1.36× | 0.69× | About 1/40 s | 41.7 mm | A middle-ground option between light gathering and lens size. |
| f/1.4 | 1.00× | 0.51× | About 1/30 s | 35.7 mm | A common fast-aperture reference for comparing low-light performance. |
| f/2.0 | 0.49× | 0.25× | About 1/15 s | 25.0 mm | More compact aperture, but it needs roughly four times the exposure of f/1.0. |
*Theoretical comparison based on the inverse-square relationship between f-number and image-plane illumination. Exposure-time equivalents assume the same scene, sensor or image intensifier, and transmission, with f/1.4 set to 1/30 s. Actual performance also depends on lens transmission, focus, sensor sensitivity, and any infrared illumination.
Choose 850 nm or 940 nm IR Illumination for Range or Lower Visibility
Choosing 850 nm or 940 nm illumination is a trade-off between useful range and visible glow. At 850 nm, many night-vision sensors capture a stronger signal, which can help reveal a fence line or path at greater distance. The drawback: the illuminator may show a faint red glow to someone nearby. At 940 nm, that glow is usually less noticeable, but the camera may receive less signal and show a darker image. Check the sensor’s response curve. EMVA 1288 Release 4.0 provides a machine-vision framework for measuring camera sensitivity by wavelength, making its quantum-efficiency data useful when comparing performance at both wavelengths.
The physics offers context, not a range guarantee. Using Planck’s relation and standard physical constants, an 850 nm photon carries about 1.46 eV; a 940 nm photon carries about 1.32 eV. That difference alone does not determine image brightness or detection distance. Sensor design, illuminator output, beam angle, lens aperture, and weather all matter. For a driveway where distance matters, 850 nm is often the practical starting point. For a nearby entrance where a dim red glow is undesirable, test 940 nm instead. Compare footage from the actual camera, at the intended distance, after dark. A spec sheet can mislead a little. The best choice is the one that keeps the target identifiable without washing out nearby details.
Match Lens Resolution to Image Intensifiers Rated Around 64 lp/mm
When an image intensifier is rated around 64 lp/mm, choose an objective lens capable of resolving detail at a similar level or better. The figure describes how closely spaced line pairs can remain distinct. A lens that falls short may soften fine detail before it reaches the intensifier. A much higher lens rating, however, cannot make the intensifier resolve beyond its own limits.
Check how the lens resolution was measured. Specifications can use different test conditions, and a number alone does not tell the whole story. Aperture, focus accuracy, optical aberrations, and contrast also affect the image. In practical use, a dim scene or slight focus error may hide detail that looked clear on a test chart. I would not treat 64 lp/mm as a guaranteed field result. Real viewing is less tidy.
Tips: Compare resolution figures measured at the image plane, and confirm the lens is intended for the intensifier’s format. Test focus on a detailed target in low light, if possible. Look for crisp edges without halos. Small differences can be hard to judge by eye, so record the same scene and conditions when comparing lenses.
How to Choose Night Vision Lenses
Match lens resolution to an image intensifier rated at 64 lp/mm.
The chart models effective system resolution as the lower of lens resolution and the intensifier’s 64 lp/mm rating. A lens resolving below 64 lp/mm can limit the system; above 64 lp/mm, the intensifier becomes the limiting component. Lens values are illustrative scenarios, not measurements of specific products.